


CLOVER SET UP
CLOVER SET UP
Set up your full-service restaurant
After you set up your Clover devices and accessories, continue by setting up your business to use them. Watch the video below to see how. Read on for step-by-step instructions.
Jump to a section:
Add business details
Start setting up your business by adding business details that help your Clover POS system run smoothly and efficiently.
Use the Clover Web Dashboard and the Setup app to get this done.
To add business details:
1.
On a web browser, log in to Web Dashboard.
2. (Optional) Click Setup > Business Information.
Confirm the details for your business. Adjust your business hours here. If you want to showcase your logo on receipts, upload your logo here.
3. Click Setup > Orders. Tell your Clover system how to group items together, whether to allow notes, and whether the device screen should continue showing the same category after each order. Your choices here determine how employees build orders.
4. Click Setup > Order Receipts. Decide when and where to print order receipts and what your receipts will look like.
5. Click Setup > Order Types.
Create some order types, for example, Dine-In or To-Go. Each receipt will show the order type that servers select when they take the order. The Orders app can sort your orders by order type. Your sales reports will group sales by order type. Order types aren't available in Canada at this time.
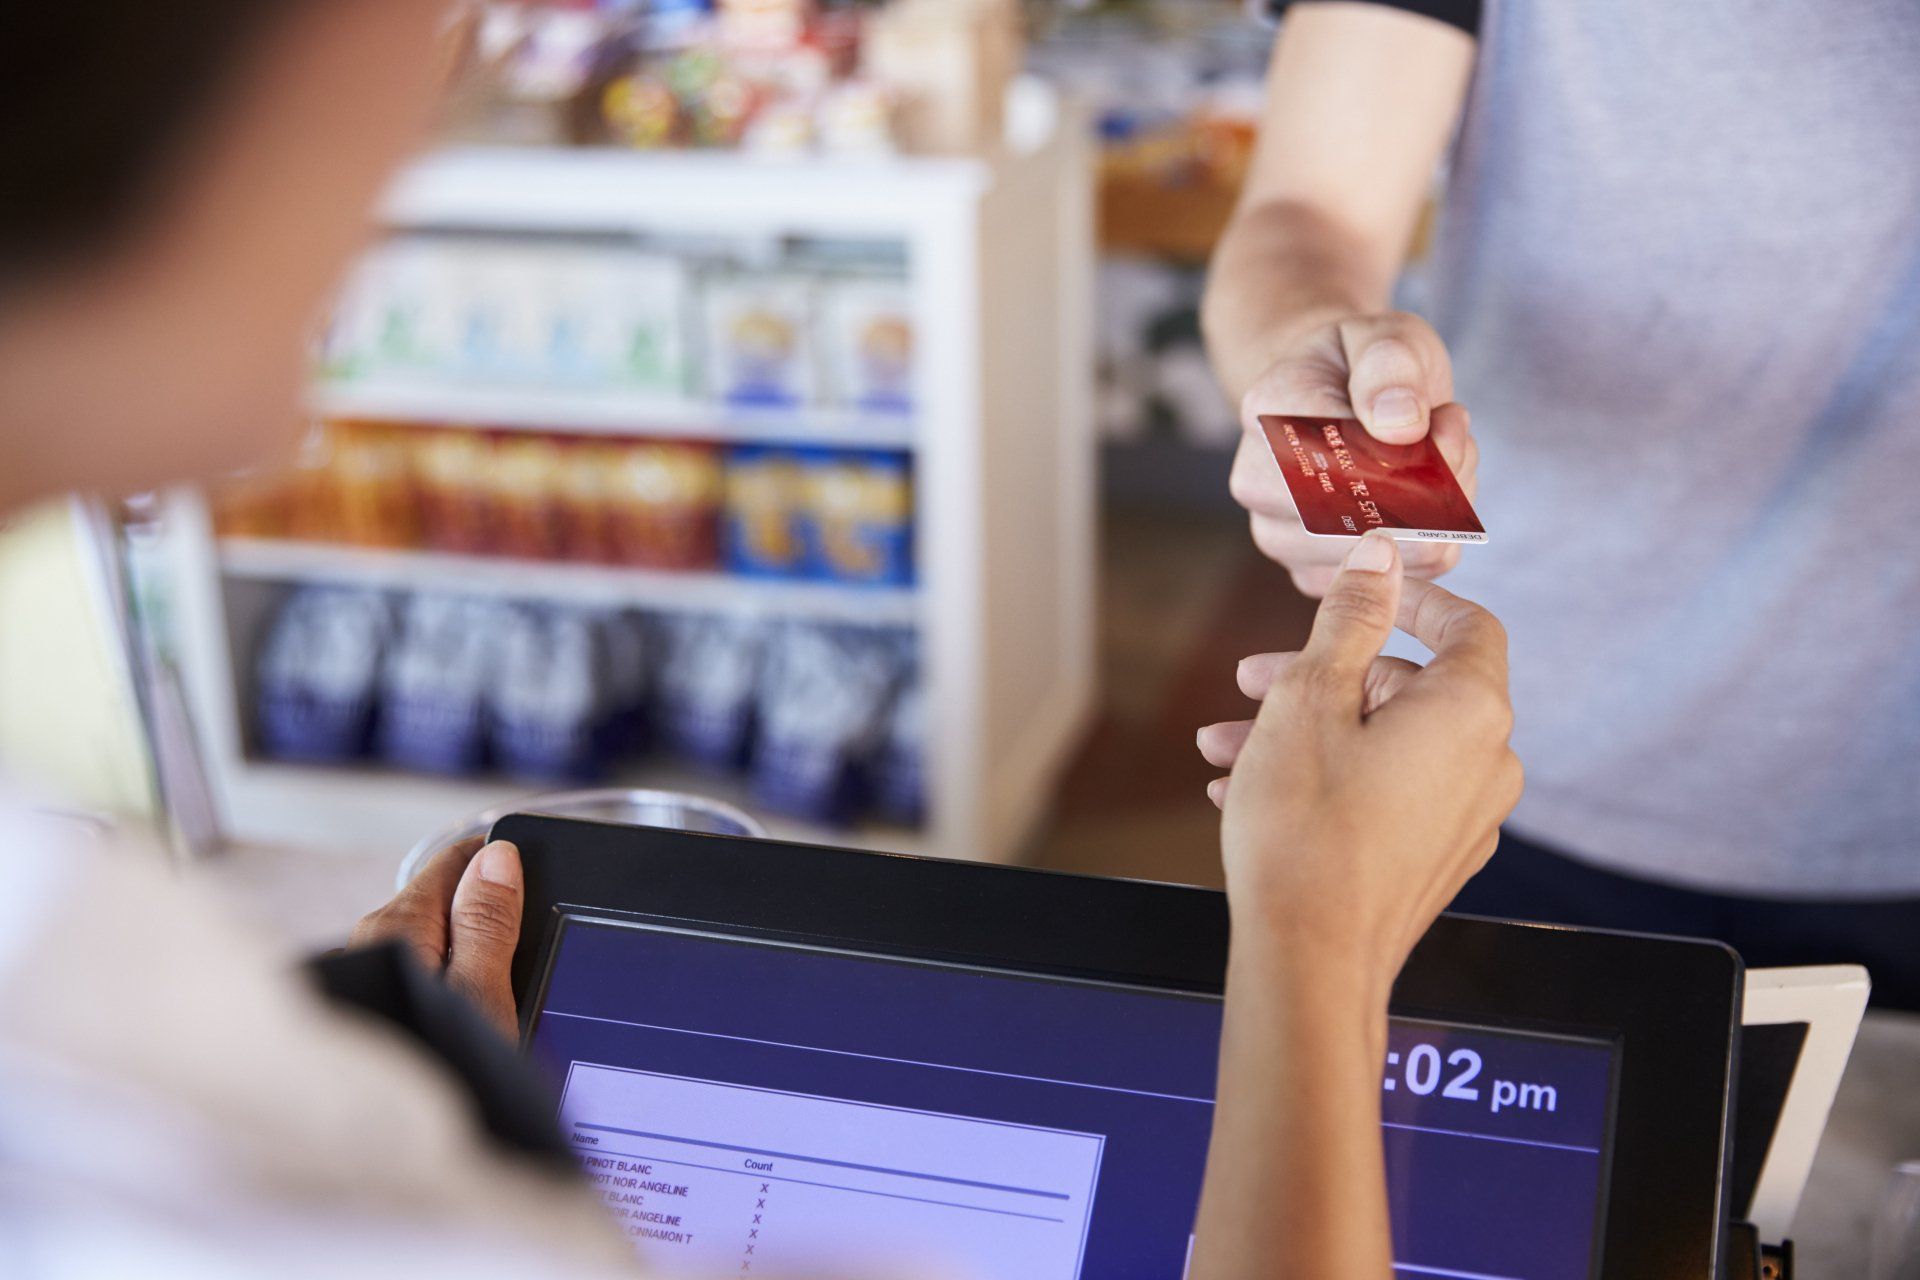
6. Click Setup > Payments. Decide what types of tender you’ll accept. Decide whether you want to pre-authorize credit card amounts for customers who are running tabs, and how much to pre-authorize.
7.
Click Setup > Payment Receipts.
Decide what you want to show on the receipts you give customers after they pay, and when to print payment receipts.
8. Click Setup > Reporting.
Set up reporting times to start and stop collecting information for reports. Additionally, here's where you can choose when to report item sales, either at the time of the order or at the time of the payment (or refund).
9.
Click Setup > Taxes.
Apply your local tax rate as the default, and specify any other taxes as required.
10.
Click Setup > Tips.
Decide whether you want to ask for tips on the Clover device signature screen. If you do, you can set up four tip percentage suggestions.
11.
(Optional) For this step, go to a Clover device. On the Clover device, open the Setup app, tap Tips, and specify where you want tips to be entered, either on the tablet screen or the payment receipt. Also decide how you want tip suggestions calculated, either with or without taxe
Next: Build your restaurant food and beverage menu.
Build your restaurant food and beverage menu
After you set up your POS system, you can build a menu by adding food and drink items.
When you build a menu, you can also define menu item modifiers to help servers take precise orders. With modifiers, the server adds details for correct preparation by restaurant staff. And the customers get their meals on time and as requested.
Use the Web Dashboard and the Inventory app to get this done.
To build your restaurant menu:
1.
In a web browser, log in to the WebDashboard.
2. Click Inventory > Category > Add new Category.
Decide whether you want to group similar menu items into categories for easier access in the register. If you do, create a few categories, such as food or bar. Reports also group items by category for easier reading. After you create a category here, you can add items to it.
3. Click Inventory > Labels > Add new Label.
Create labels for your menu items to easily sort them for specific purposes, such as revenue class accounting. For example, you might have a restaurant and a golf club, each with separate revenue accounting. You can create a label for each revenue class. Then attach each revenue class label to items in that revenue class. And report taxes easily for that revenue class. (Also use labels to identify printers.)
4. Click Inventory > Modifier Groups > Add New Modifier Group.
Create modifiers and add their modifier groups to let the kitchen or bar know exactly what the customer wants. You can also create modifiers for add-on items that cost extra, such as toppings.
5. Click Inventory > Items > Add new item.
Add menu items on this page. Fill in the details for each new item. Only the name is required. Add the item to a category if you are using categories. If your servers will order the item in several different ways, add it to a modifier group. If you are using labels for reporting, or to send specific items to order printers, attach a label to it.
Next: Add restaurant employee profiles.
Add restaurant employee profiles
After you build your food and beverage menu, you can add employee profiles. Watch the video below to see how. Read on for step-by-step instructions.
After you build your food and beverage menu, you can add employee profiles. Profiles give employees permission to use the apps they’ll need to be successful. Use the Clover Web Dashboard and the Employees app to get this done.
You’ll want to:
- Create a profile for each employee.
- Assign one of the three predefined roles to each employee (Manager, Admin, Employee). The role gives the employee permission to do specific tasks on Clover devices. You can define additional roles.
- Set a passcode for the employee to use to unlock Clover devices.
To add employee profiles:
1.
In a web browser, log in to the WebDashboard.
2. Click Employees.
3. Click Add New Employee.
4. On the Employees tab, enter the employee’s name and assign a role. For most employees, you’ll want to assign the Employee role. You can assign the Manager role if you want the employee to use apps and features for managing other employees. If you also want your employee to be able to access the Web Dashboard, you’ll need to enter their email address and offer them Admin privileges.
5. Define a unique passcode here for each employee, or accept the unique passcode the system assigns when you click Save. If you want your employees to use employee cards or scanned fingerprints (on the Clover Station 2018) to unlock Clover devices, go to a Clover device to set that up.
6.
Click Employees > Setup.
Decide whether you want employees to unlock a device without a passcode. (Their activities will be associated with a general employee profile. For example, reports will show Employee as the person making a sale.)
7.
Click Save.
Next: Set up restaurant printers.